This was a recent topic in a Facebook group and it got me reminiscing. I can't speak for everyone, but I can offer some insight into what it was like for me. I started performing in 1987 so there were still some "old school" people hanging around with us.
Besides watching the movie and looking for details at the show every weekend, my primary source was actually other performers. Costume knowledge was sort of cumulative - so you'd work with what had already been figured out by your predecessors and then try to find new details to improve your own costume.
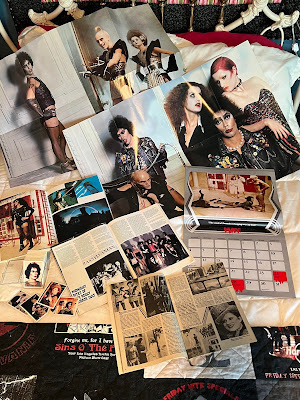
The Rocky Horror Poster Magazines and Bill Henkin book had been out since 1979 (and advertised through the fan club) featuring some great reference photos from the film and Mick Rock's collection. There were also trading cards, calendars, production stills, etc - things you'd find at comic book shops.
 |
| All of this was available in 1978-9 |
Some members in our local (Houston) cast had a 13th generation VHS tape of the film with Japanese subtitles. It was awful - you couldn't see a single detail when you tried to pause it. Not very useful for costume research, but it helped a lot with choreography.
Articles would also in other mainstream magazines - especially around every 'anniversary'. I would dig through library catalogs to find "Rocky Horror" in back issues of People and Time Magazine. Sometimes they'd even have a physical copy of the magazine on hand and some pages may or may not have gone missing from a library in rural Arkansas...
In 1989 MTV aired "The Rocky Horror Video Show" which was a 30-minute condensed version of the film - it had Dammit Janet, Time Warp, Sweet T, Hot Patootie, I'm Going Home, and (new to me!!) Super Heroes. And of course by then we all had VHS recorders!
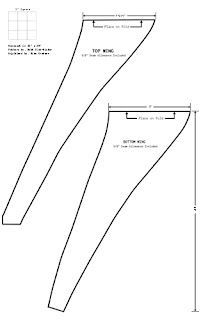
My costume was constantly being upgraded as I corrected mistakes and found better materials. Nobody in our cast had everything - we shared a lot. I had a gold tailcoat that a lot of other Columbias borrowed. .


.png)